
Okay, she doesn't hate me, but she DID move back to Texas leaving me here in Utah without her.
For her birthday my friend McKenzie and I thought she needed a little Utah love so we sent her a Utah care package equipped with Jack Mormon Coffee - The Celestial Blend of course, some yummy fudge, Utah Utes coffee cups, an ADORABLE Utah shaped necklace (not pictures, it had to be sent later - boo) I ordered from Zailove and a photo collage I made out of the shape of Utah. I stalked her Facebook album "Everything Utah" and gathered all the photos of her Utah life. It was super easy and a great way to make an inexpensive gift a little more personalized with a sweet touch.

What you'll need:
- 12in. x 12in. shadow box frame - preferrably one from JoAnn's that you can use mad coupons for. (Mine cost $9)
- Foam board ($3.99)
- Box cutter
- Ruler
- Photos printed on regular copier paper (FREE - if you have a printer)
- Antique matte Modgepodge ($5.99)
- Small to medium paint brush ($1)
- Black acrylic paint ($1.99)
- Fabric of your choice - larger than your photo frame so it covers the whole background ($1.89)
- Adhesive strips ($3.99)
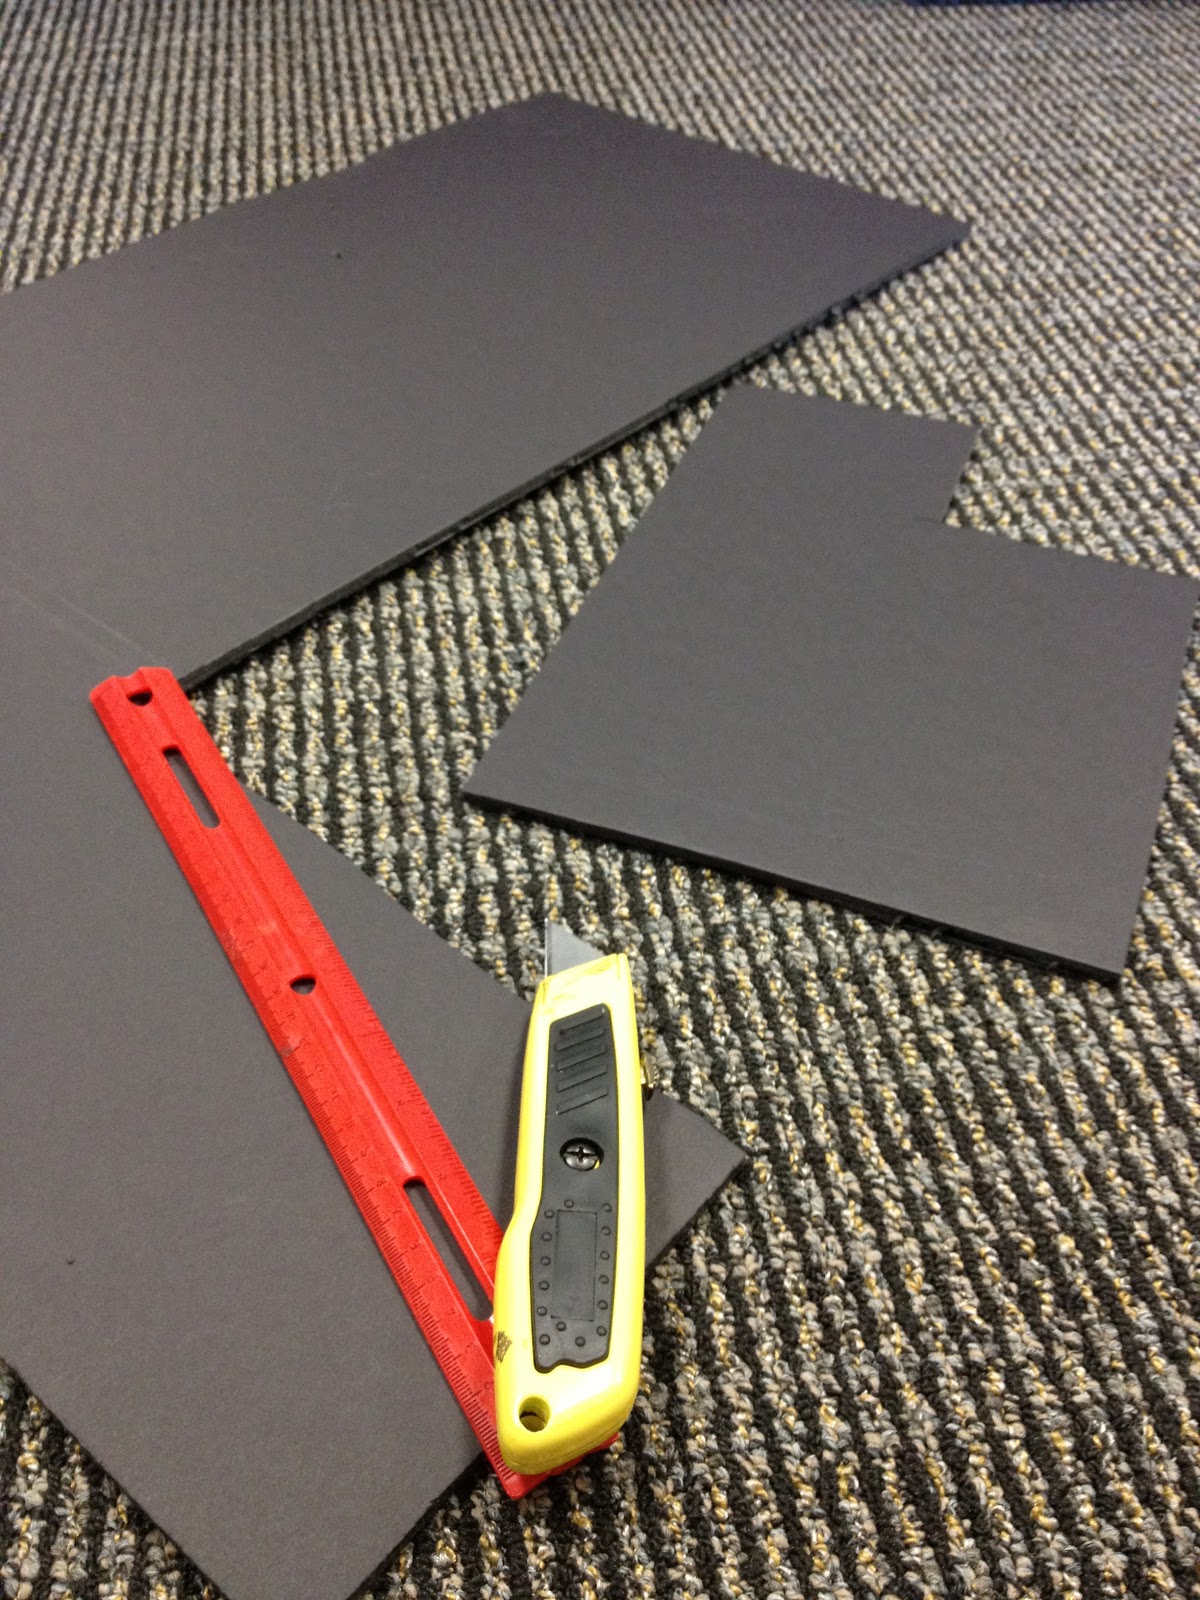

Step 1: Cut out your State using a ruler and box cutter. Thank God it was Utah! Make sure you make it about 2 inches less than your frame size - so for this project about 10in. x10in.
Step 2: Pick out, print and cut the pictures you want to use. I did all black and white images. A good rule for sizing is making the dominate pictures fit about 4 to a sheet, less dominate about 6-8 per sheet.


Step 3: Begin placing your pictures BEFORE you modge podge, outline your pictures and cute to make the fit.
Step 4: Begin modge podging. Podge podge a generous amount onto your foam board first, then to the back of your picture and stick together. Do this with the entire collage. I also used some of my fabric to add a heart near SLC.

Step 5: Wait about 10-20 minutes for your modge podge to dry then apply a layer of modge podge over the pictures, coating the entire project. It will look like you've just ruined your project, but it will dry clear and with the antique matte modge podge, have a sepia tone to it once it dries.

Step 6: Wait 20-25 minutes for project to dry COMPLETELY. If you rush it and try to pick up the project while it's still drying you'll get finger prints in your modge podge that will pull (like latex) off and it will look bad. Be patient. Once it's dried, you can pick it up and with your sponge dab it into the black paint and dab most off before applying it to your edges. Go around the entire sides and onto the edge. This will hide any uneven edges and black out the foam in the middle. Do this to your liking, as much or as little as you want. Let dry about 10-15 minutes.

Step 7: Size and cut your fabric so that about an inch or two is hanging off the sides of the frame. Most frames come with a cardboard piece that you can use, but you can also cut a 12x12 piece of your foam board and wrap and glue the fabric around it. (I used my modge podge to glue the fabric to the backside.)
Step 8: Place your collage centered in the frame and use 4 adhesive strips to secure it in place.

Step 9: Make it look pretty by giving it a bow and some fun wrapping decor and WA-LA! It's ready to be given!
Happy Birthday, Mere! We miss and love you!

Sweet! What a good idea for a gift!
ReplyDelete